Which can only mean one thing, it’s time to dust off your map and compass, get outside and brush up on those long-lost skills! We caught up with our Craghoppers Ambassador, mountaineer and Ordinance Survey GetOutside Champion, David Love, to get his take on why map reading remains such an essential skill.
Maps definitely hold a very special place in my heart. They are a British institution that we’re all indoctrinated into at a young age, usually at school in Geography lessons while trying to work out the grid reference of your nearest telephone box or public house! ‘Along the corridor and up the stairs’, ‘magnetic north’, ‘grid north’, ‘true north’ – it can all get very confusing rather quickly in the classroom!
But the best classroom of all is the great outdoors. And being able to practice a handful basic map reading techniques means you can enjoy it in all its glory while also staying safe and reducing your chances of any unintended navigational embarrassments!
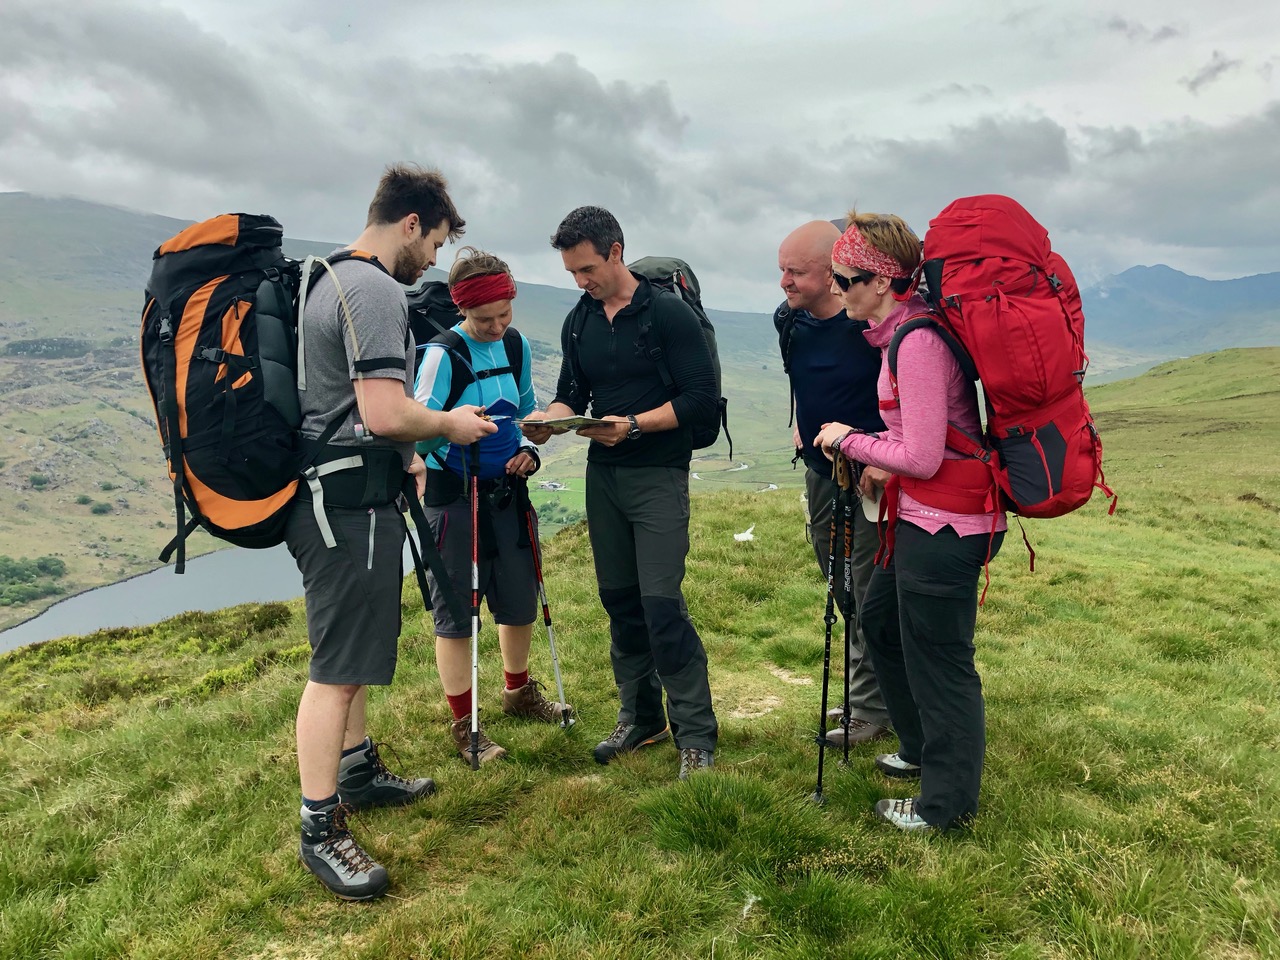
So pick up a map of your local area, head to your nearest green space and give my top five navigation tips a try.
The Key to Map Reading
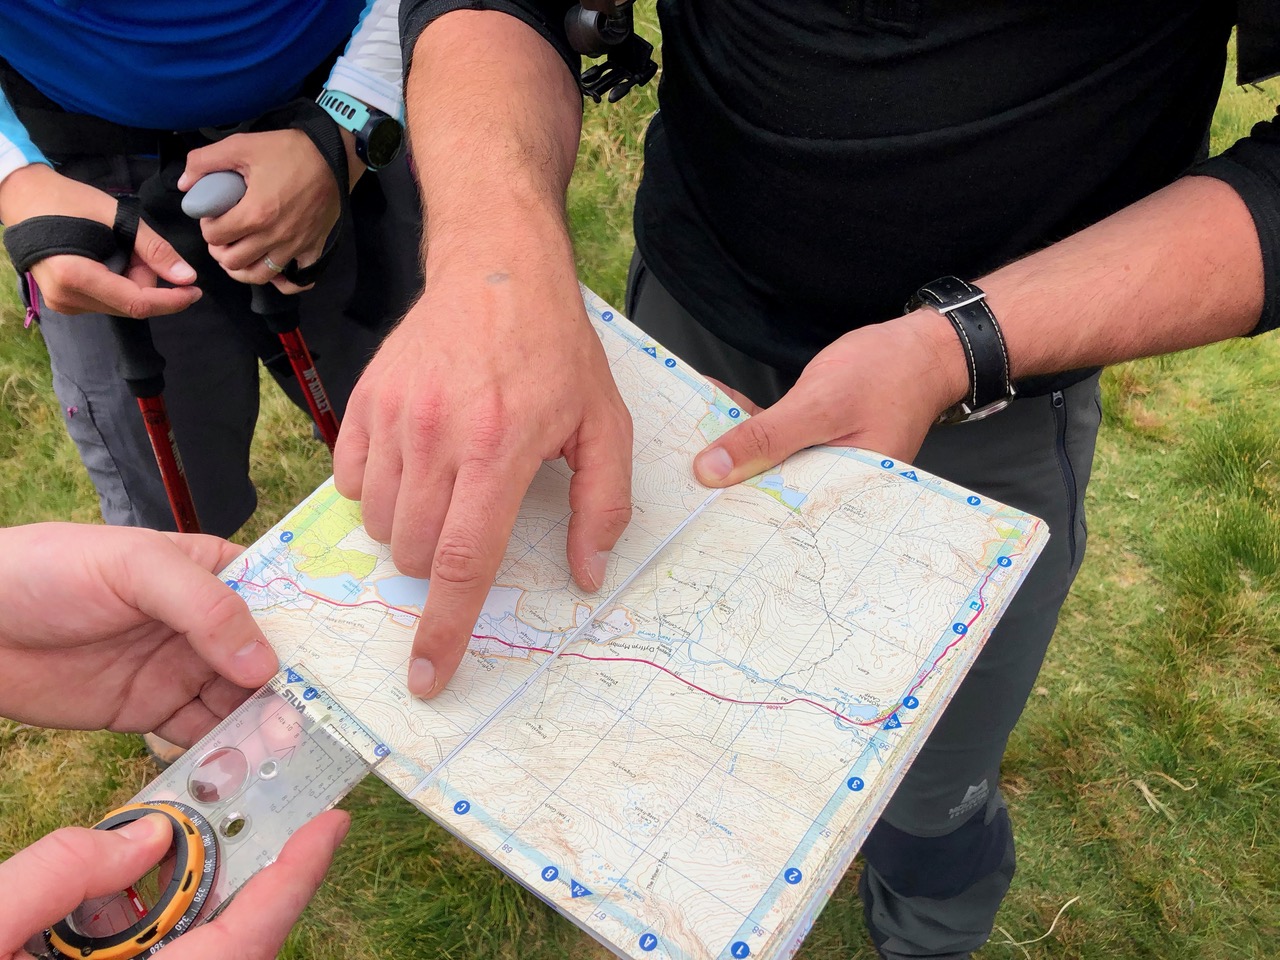
Before you do anything, it really is worth having a quick look over the key for the map you’re using. Some maps will represent the same feature differently and it’s always good to re-familiarise yourself with the various types of track and road you’ll be using during your activity. You really will be surprised at just how much useful information you’ll get from the key that you may have forgotten.
It’s all about scale
Maps in the UK come in a range of different scales. Walking maps typically come in 1:25,000 or 1:50,000, such as Ordnance Survey Explorer (Orange) and Landranger (Pink) paper maps. There are also some 1:40,000 maps available. These scales represent one centimetre on the map is equal to either 25,000 or 50,000 centimetres on the ground. This is important because a 1:25,000 map will contain roughly twice the amount of detail as a 1:50,000 map, but a 1:50,000 will cover a much larger area. So for activities such as hill walking, where detail and accuracy are essential, a 1:25,000 scale map is ideal. Whereas a 1:50,000 scale map is perfect for things like cycling or water-based activities, where larger distance are covered.
Pacing it out
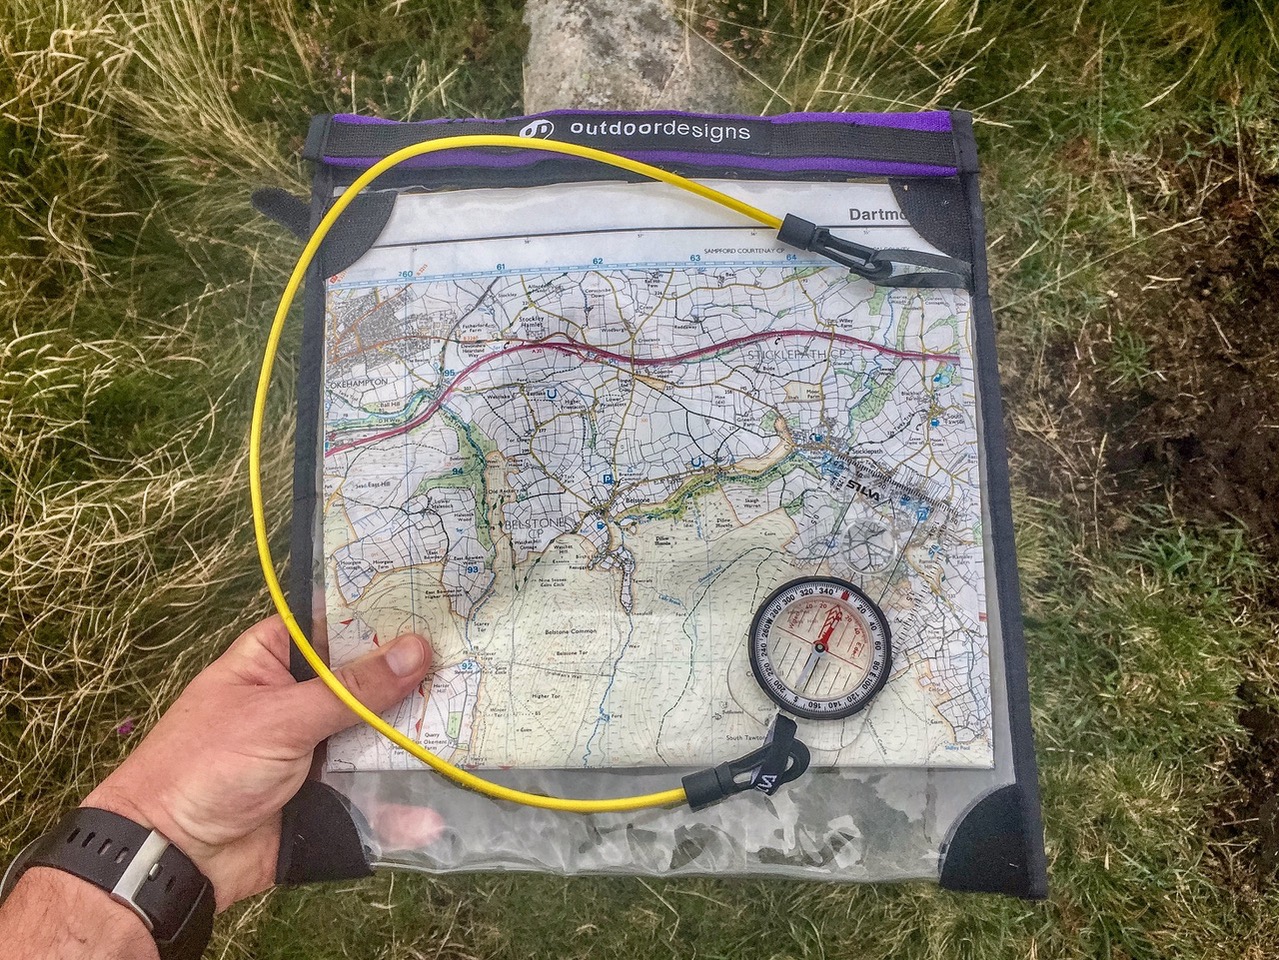
When I’m out in the hills, particularly leading groups, I frequently practice pacing – the number of strides you do over 100 metres. This is a really useful tool that allows you to keep track of how far you’ve walked, particularly if you’re trying to locate, say, a track junction 300m ahead of you. You can simply count your 100m pacing three times and it will get you to within the ball-park area you’re looking for with pretty good accuracy. Use the scale at the edge of your compass (make sure you’re using the right scale for the map you’re using!) and find two features nearby that are as close to 100m apart as you can.
Now, position yourself next to the first of those features and begin to walk (normally) to the second feature and count your paces. Repeat this process a handful of times until you’re happy you’ve found your average pacing over 100m. Remember, your pacing will change if you’re carrying heavy weight or going uphill, so it’s worth seeing how this affects your score for future reference.
Chunking
A really useful tip is to break down any route into smaller ‘chunks’ or ‘legs’. That way, you’ll be able to select two or three obvious ‘tick-off’ features that you expect to pass on your way to the end of a particular leg. If you know you’re walking along a countryside track and that you will pass two farm building before you get to your next track junction, it means you can just look for those two buildings and ‘tick’ them off as you pass them rather than constantly checking where you are on your map.
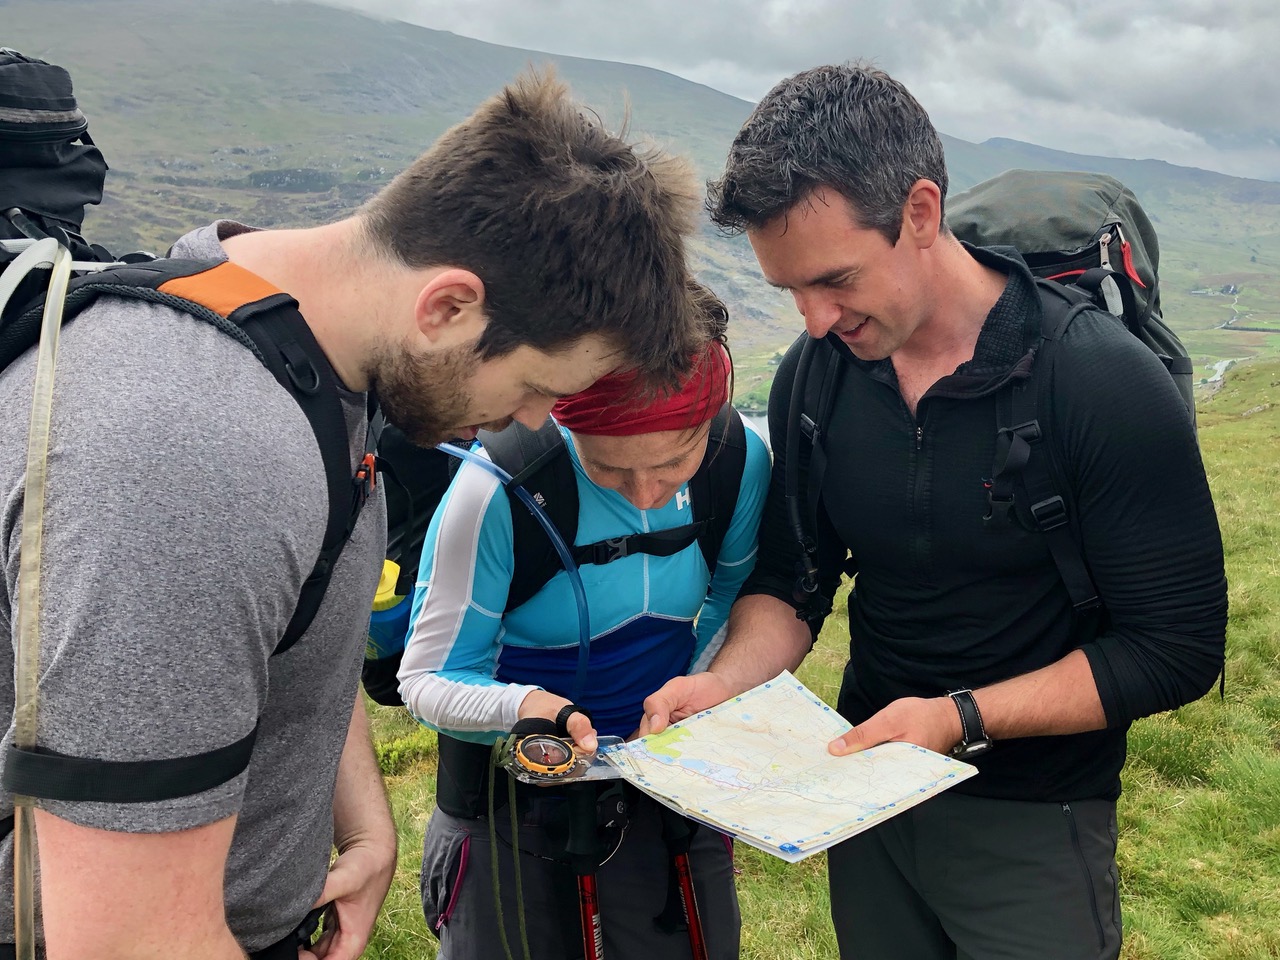
Getting your bearings
To check you’re heading in the right direction you can set a bearing. Simply place the compass on the map and line up its edge with the track you intend to follow and pointing in the same direction you will be walking. While holding the compass firmly in place, twist the rotating bezel ring so that the lines on the base of the bezel are pointing up, parallel to the grid lines that run south to north up the map. Now you can remove your compass from the map and hold it out pointing forward in front of you. Rotate your body so that the red end of the compass needle is inside the red ‘shed’ of the compass bezel and off you go!
As with all skills, knowledge of how to do them will fade if you don’t keep practising. So next time you’re heading outside, try spending the first few minutes refreshing some of these techniques to become a map reading ninja in no time.
For more information, the Ordnance Survey National Map Reading Week pages are jammed packed full of useful resources, downloads, tips and ideas to get the entire family out map reading this week.
Useful tips! which also act as a refresher for those who consider themselves competent navigators.